
Django’s views are the information brokers of a Django application. A view sources data from your database (or an external data source or service) and delivers it to a template. For a web application, the view delivers web page content and templates; for a RESTful API this content could be formatted JSON data.
The view decides what data gets delivered to the template—either by acting on input from the user or in response to other business logic and internal processes. Each Django view performs a specific function and has an associated template.
Views are represented by either a Python function or a method of a Python class. In the early days of Django, there were only function-based views, but, as Django has grown over the years, Django’s developers added class-based views.
Class-based views add extensibility to Django’s views. Django also has many built-in class-based views that make creating common views (like displaying a list of articles) easier to implement. Don’t worry too much about the differences between function- and class-based views now, we will cover both in more detail later in the book.
We covered the basics of Django’s models in Chapter 4. In this chapter, we will take a detailed look at the basics of Django’s views without getting into any detail on how views interact with models and templates. To help you grasp how views work at a fundamental level, I will show you how they work using simple HTML responses. In the next chapter, we’ll cover the basics of Django’s templates, and we’ll cover class-based views in Chapter 13.
Your First View
Project Files
The following code examples assume you have created your project and app files with the startproject and startapp utilities. It’s recommended you use this default structure throughout the book so your code matches the examples. Also note, the code in this book was written in Django 6, so the default file contents may be slightly different if you are using a later version of Django.
To create our first view, we need to add some code to the views.py file in our events app:
# \myclub_root\events\views.py

1  from django.shortcuts import render
2  from django.http import HttpResponse
3
4  def index(request):
5      return HttpResponse("<h1>MyClub Event Calendar</h1>")
Code language: PHP (php)
Let’s examine this code closely:
- Line 1. Import the
render()function.startappadds this line to the file automatically.render()is used when rendering templates, which we will cover in Chapter 6. - Line 2. We import the
HttpResponseclass. HTTP, the communication protocol used by all web browsers, uses request and response objects to pass data to and from your app and the browser. We need a response object to pass view information back to the browser. We cover request and response objects in Chapter 10. - Lines 4 and 5. This is your view function. It’s an example of a function-based view. It takes a request from your web browser and returns a response. In this simple case, it’s just a line of text formatted as an HTML heading.
Configuring the URLs
If you started the development server now, you would notice it still displays the welcome page. For Django to use your new view, you need to tell Django the index view is the view you want to display when someone navigates to the site root (home page). We do this by configuring our URLs.
In Django, the path() function is used to configure URLs. In its basic form, the path() function has a very simple syntax:
path(route, view)
A practical example of the basic path() function would be:
path('mypage/', views.myview)
Code language: JavaScript (javascript)
In this example, a request to http://example.com/mypage would route to the myview function in the application’s views.py file. Don’t worry if this is a bit confusing now; it will make a lot more sense once you have written more views.
The path() function also takes an optional name argument and zero or more keyword arguments passed as a Python dictionary. We will get to these more advanced options later in the book.
The path() function statements live in a special file called urls.py.
When startproject created our website, it created a urls.py file in our site folder (\myclub_site\urls.py). This is the correct place for site-wide navigation, but is rarely a good place to put URLs relating to individual applications. Not only is having all our URLs in the one file more complex and less portable, but it can lead to strange behavior if two applications use a view with the same name.
To solve this problem, we create a new urls.py file for each application. If you are wondering why startapp didn’t create the file for us, not all apps have public views accessible via URL. For example, a utility program that performs background tasks would not need a urls.py file. For this reason, Django lets you decide whether your app needs its own urls.py file.
First, we need to create a urls.py file in our events app (new file):
# \myclub_root\events\urls.py

1  from django.urls import path
2  from . import views
3
4  urlpatterns = [
5      path('', views.index, name='index'),
6  ]
Code language: PHP (php)
Let’s look at this code closer:
- Line 1 imports the
path()function. This import is necessary for the URL dispatcher to work and is common to allurls.pyfiles. - Line 2 imports the local
views.pyfile. The dot operator (“.”) in this case is shorthand for the current package, so this is saying “import all views from the current package (events)”. - Line 4 lists the URL patterns registered for this app. For readability, the list is broken into multiple lines, with one URL pattern per line.
- Line 5 is the actual URL dispatcher:
''matches an empty string. It will also match the “/” as Django automatically removes the slash. In other words, this matches bothhttp://example.comandhttp://example.com/.views.indexpoints to ourindexview. I.e., the dot operator is pointing to theindexview inside theviews.pyfile that we imported in line 2.name='index'. While it’s optional, you should always name your URLs. We name URLs so they can be referred to in code (reverse lookup). URL reversing is common in both templates and views, so you will see several examples as we work through the book.
Now let’s look at the site urls.py file:
# \myclub_root\myclub_site\urls.py

1  from django.contrib import admin
2  from django.urls import include, path
3
4  urlpatterns = [
5      path('admin/', admin.site.urls),
6      path('', include('events.urls')),
7  ]
Code language: PHP (php)
We have made two important changes to the file:
- Line 2. We have added the
include()function to our imports. - Line 6. We have added a new URL dispatcher. In this file, the dispatcher is including the
urls.pyfile from theeventsapp. The empty string ('') will match everything after the domain name. This pattern must be the last entry in theurlpatternslist, otherwise Django’s shortcut logic will switch to theeventsapp before trying to match any of the other site URLs.
Now, run the development server by switching into your \myclub_root folder and running the server with:
python manage.py runserver
Code language: CSS (css)
Navigate to http://127.0.0.1:8000/ in your browser, you should see a plain, but functioning home page (Figure 5-1).
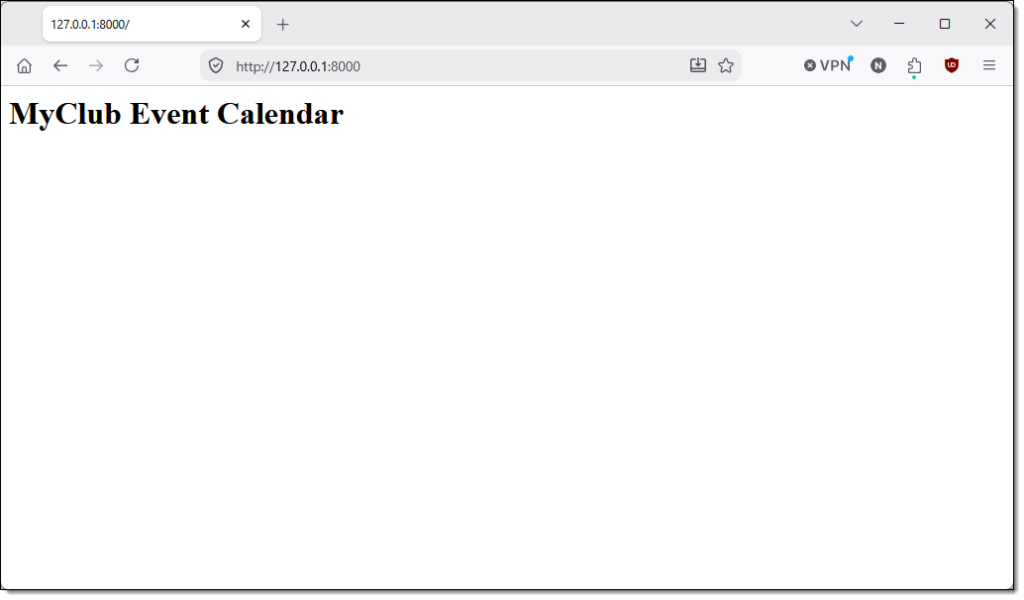
Figure 5-1: A plain, but functioning homepage for your website.
So What Just Happened?
To better understand how Django works, let’s build on the generic example from Chapter 3 with a concrete example of what Django did to display our home page:
- Our browser sent a message to the Django development server requesting it return content located at the root URL (
http://127.0.0.1:8000/). - Django then looked for a URL pattern matching the request, by first searching the site level
urls.py, working its way down theurlpatternslist looking for an app with aurls.pyfile containing a pattern that matches. - Django checks the first pattern (
admin/) in our site levelurls.pywhich doesn’t match and moves on to the second line in which the empty string (root URL) matches. - The matching pattern includes the
urls.pyfrom theeventsapp. Basically, this include says “go look in theeventsapp for a pattern that matches”. - Once in the app-level
urls.py, the empty string matches again. But this time, the request is sent to theindexview. - The
indexview then renders our simple HTML message to aHttpResponseand sends it to the browser. - The browser renders the response and we see our page heading.
Every Django application follows this same basic process each time it receives a request from the browser.
Your Second View: Dynamic Content
Our simple index view does an excellent job of demonstrating how content from a Django view is rendered to the browser, but it’s not a very good example of a modern web page. That’s because it’s static, i.e., the page content is always the same.
For a modern interactive site, you want the content of your pages to change dynamically based on interaction with the user and program logic.
ASIDE: Static Pages Still Have a Place
Not all pages need to be dynamic. For example, about pages, terms and conditions, and privacy statements don’t change regularly and are often saved as static HTML pages.
Django’s developers thought of this and made managing static pages from within your Django administration dead easy with the built-in flatpages app. We will have a look at the flatpages app in Chapter 18.
With our event calendar, it would be good for the page heading to include the month and year. This can’t be hard-coded into the HTML, so we need to develop a way to show the current month and year in the title.
We should probably add an actual calendar too—given it will not be much of an event calendar without you being able to see the calendar!
Before we modify our index view, let’s use the interactive shell to test out some new code. You can use either the Python interactive shell or Django’s shell; the code will work in both:
>>> from datetime import date
>>> t = date.today()
>>> t
datetime.date(2026, 10, 13)
Code language: JavaScript (javascript)
To start, we’re importing the date class from Python’s datetime module. We then assign today’s date to the variable t. Now we have some useful information we can use to extract the current month and year:
>>> t.year
2026
>>> t.strftime('%b')
'Oct'
>>> month = t.strftime('%b')
>>> year = t.year
>>> title = f'MyClub Event Calendar - {month} {year}'
>>> title
'MyClub Event Calendar - Oct 2026'
>>>
Code language: JavaScript (javascript)
The first line should be straightforward—we’re accessing the year attribute of the date object t.
The next bit of code is more interesting. We’re using the strftime (string format) method from Python to format t. The %b format string converts date object t into a string containing the month formatted to its abbreviated (3-character) name. strftime is a handy method for formatting dates and times. If you want to learn more check out the Python strftime documentation.
In the last bit of test code, we’re putting the month and year into two variables and then using Python’s formatted string literal (f-string) formatting syntax to generate a dynamic title for our event calendar page. For more information on f-strings, see the Python documentation.
Now we’ve got some working code, let’s jump over to our index view and put it to practical use:
# \myclub_root\events\views.py

1  from django.shortcuts import render
2  from django.http import HttpResponse
3  from datetime import date # Import the date class
4
5
6  def index(request):
7      t = date.today() # Assign today's date
8      month = t.strftime('%b') # Format the month
9      year = t.year # Assign the year
10     title = f'MyClub Event Calendar - {month} {year}'
11     return HttpResponse(f"<h1>{title}</h1>")
Code language: PHP (php)
Let’s have a look at the changes to our index view:
- Line 3. Import the
dateclass from Python’sdatetimemodule. - Line 7. Assign today’s date to the variable
t. - Line 8. Set the
monthvariable to the 3-character month. - Line 9. Assign the current year to the variable
year. - Line 10. Use a Python f-string to create the dynamic title for our page.
- Line 11. Use another Python f-string to return our dynamic title as HTML.
If you run the development server, you should see the homepage now shows the event calendar title with the current date appended (Figure 5-2).
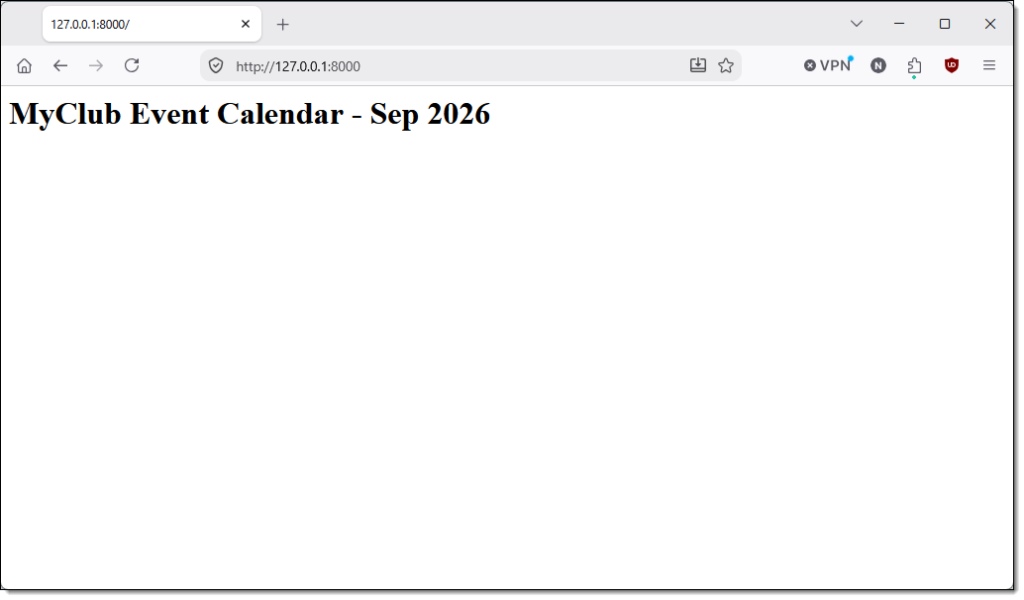
Figure 5-2: Your homepage with a dynamic title. The date will change depending on the current date.
Your Third View: Dynamic URLs
We’ve updated our index view to include the current month in the title (we’ll get to the calendar bit soon), but what if we wanted to show a month other than this month?
In most web applications, dynamic URLs are used to serve different content. For example, an eCommerce site might give each product a unique URL, like /widgets/green and /widgets/blue.
In Django, we create dynamic URLs with path converters. A path converter has a simple syntax:
<type:variable>
Code language: HTML, XML (xml)
There are five different path converter types:
str—matches any non-empty string, excluding ‘/’path—matches any non-empty string, including ‘/’ Useful for matching the entire URLint—matches an integerslug—matches any slug string. e.g.,slugs-are-text-strings-with-hyphens-and_underscoresuuid—matches a universally unique identifier (UUID)
Here’s an example of a URL containing path converters:
/<int:year>/<str:month>/
Code language: HTML, XML (xml)
When Django is presented with a URL matching this pattern, for example /2026/sep/, Django puts the value “2026” into the variable year and the string “sep” into the variable month. If you are familiar with regular expressions, path converters are equivalent to capturing groups.
Let’s put this into practice and modify the events app’s urls.py file:
urlpatterns = [
    # path('', views.index, name='index'),
    path('<int:year>/<str:month>/', views.index, name='index'),
]
Code language: PHP (php)
A simple change here—we’ve just added the path converters to the path statement in our events app. The events app will now capture any URL with the format /year/month and pass the year and month to the index view. I’ve left the original path statement commented out in the source for your reference, so you can see what’s changed.
If you tried to do this now, you would get an error because the index view doesn’t know what to do with the new variables. Let’s fix that now by modifying views.py:
# \myclub_root\events\views.py

1 def index(request, year, month): # Pass in year and month as parameters
2     # t = date.today()
3     # month = t.strftime('%b')
4     # year = t.year
5     title = f'MyClub Event Calendar - {month} {year}'
6     return HttpResponse(f"<h1>{title}</h1>")
Code language: PHP (php)
You can see on line 1, I have added year and month as input parameters to the view function. We no longer need to calculate the year and month values, so I have commented out lines 2 to 4. You can delete these lines if you wish—I left them in to make it easier for you to see what has changed.
To test the new view, navigate to http://127.0.0.1:8000/2026/Sep/ in your browser. You should see something that looks like Figure 5-3.
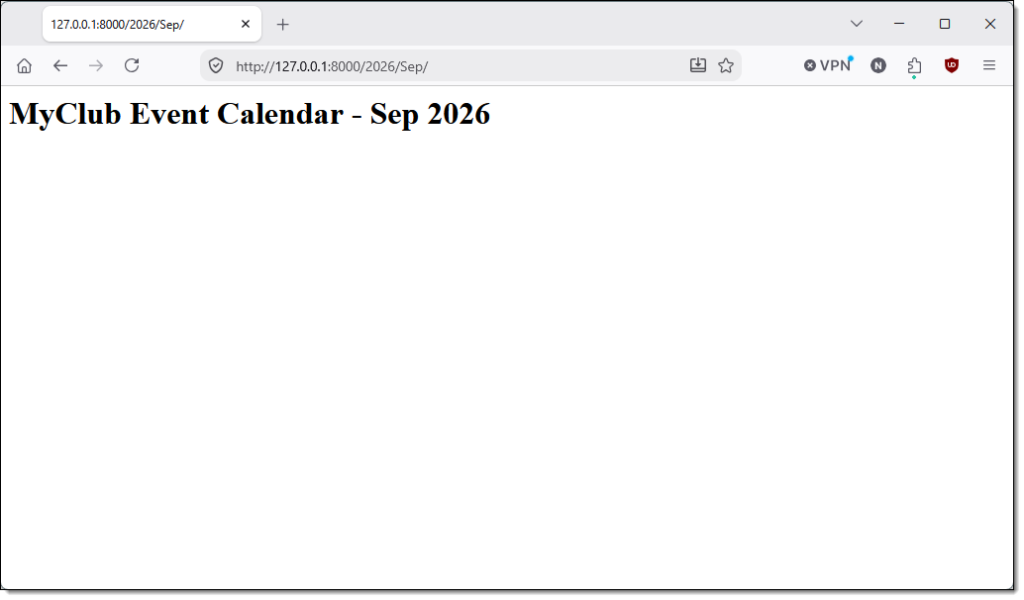
Figure 5-3: The dynamic title is now being generated from the URL.
This is pretty cool, but what if you entered some nonsense URL like http://127.0.0.1:8000/123456/12monkeys/ You can try this URL—the view will still work, but the title no longer makes sense.
Path converters are an easy to understand and simple to code method for capturing URL arguments. However, when you need a more robust option for validating URLs, Django also provides regular expression (regex) matching for URLs.
Let’s change our urls.py file to use regexes:
# \myclub_root\events\urls.py

1 from django.urls import path, re_path # Add re_path to the import statement
2 from . import views
3
4 urlpatterns = [
5     # path('<int:year>/<str:month>/', views.index, name='index'),
6     re_path(r'^(?P<year>[0-9]{4})/(?P<month>0?[1-9]|1[0-2])/$', views.index, name='index'),
7 ]
Code language: PHP (php)
You can see in line 1, I have imported the re_path function from django.urls. I have commented out the original URL configuration using path converters in line 5, so you can compare it to the new URL configuration using regexes in line 6.
Let’s have a closer look at the regexes:
[0-9]{4}captures any 4-digit number and assigns it to the variableyear. This is not perfect because it will still accept an invalid year, but at least it limits the number to 4 digits. We will perform additional validation logic in the view.0?[1-9]|1[0-2]will only capture numbers between 1 and 12, which is the range of valid month numbers, and assign the captured value tomonth. The0?at the beginning is an optional leading zero, so (for example) both “1” and “01” are valid inputs for January. Note we are no longer capturing a string here. This is because validating a month as a string is too difficult—you would have to check for all variations of English spelling of the month, plus additional checks for localization.
Try a few URLs in YYYY/MM/ format to test the new URL configuration. For example, you could try http://127.0.0.1:8000/2026/01/ to show January 2026 in the title. You should also see that any URL that doesn’t match either of the arguments will throw an HTTP 404 (Not found) error, which is the behavior we want.
Note the month no longer shows a string—the title only includes the month number. To fix this, we need to modify the index view to work with our new URL configuration:
# \myclub_root\events\views.py

1  from django.shortcuts import render
2  from django.http import HttpResponse
3  from datetime import date
4  import calendar # Import the calendar module
5
6  def index(request,year,month):
7      year = int(year)
8      month = int(month)
9      if year < 2000 or year > 2099: year = date.today().year
10     month_name = calendar.month_name[month]
11     title = f'MyClub Event Calendar - {month_name} {year}'
12     return HttpResponse(f"<h1>{title}</h1>")
Code language: PHP (php)
Let’s step through this code in a little more detail:
- Line 4. We import the
calendarmodule from Python. - Lines 7 and 8. While the URLconf is capturing numbers, they are passed in as strings, so we need to convert
yearandmonthto integers. - Line 9. Validates the year. If the year is less than 2000 or greater than 2099,
yearis set to this year. - Line 10. We’re using the
month_name[]sequence from thecalendarmodule to retrieve the month name that matches the month number. - Line 11. Replaced
monthwith themonth_namevariable.
Now when you fire up the development server, you should be able to enter any URL in the form /YYYY/M/ or /YYYY/MM/, and you will see the dynamic title change to match the URL arguments.
Now, all we need to do is add the calendar. Luckily, Python makes this easy with the HTMLCalendar() class from the calendar module. If you want to explore the HTMLCalendar() class and the calendar module in more detail, check out the Python documentation.
In this lesson, we will instantiate a new HTMLCalendar object and pass the HTML formatted content for the selected month to the response. Open up your views.py file and make the changes below:
# \myclub_root\events\views.py

1  from django.shortcuts import render
2  from django.http import HttpResponse
3  from datetime import date
4  import calendar
5  from calendar import HTMLCalendar # Import the HTMLCalendar class
6
7
8  def index(request,year,month):
9      year = int(year)
10     month = int(month)
11     if year < 2000 or year > 2099: year = date.today().year
12     month_name = calendar.month_name[month]
13     title = f'MyClub Event Calendar - {month_name} {year}'
14     cal = HTMLCalendar().formatmonth(year, month)
15     return HttpResponse(f"<h1>{title}</h1><br />{cal}")
Code language: PHP (php)
Let’s look at the changes in detail:
- Line 5. We import the
HTMLCalendarclass from thecalendarmodule. - Line 14. We retrieve an HTML formatted calendar using the
formatmonth()method and place the HTML content into the variablecal. - Line 15. We modify the string formatting to attach the calendar to the response.
To test the changes, navigate to http://127.0.0.1:8000/2026/1/. Your browser should now look like Figure 5-4.
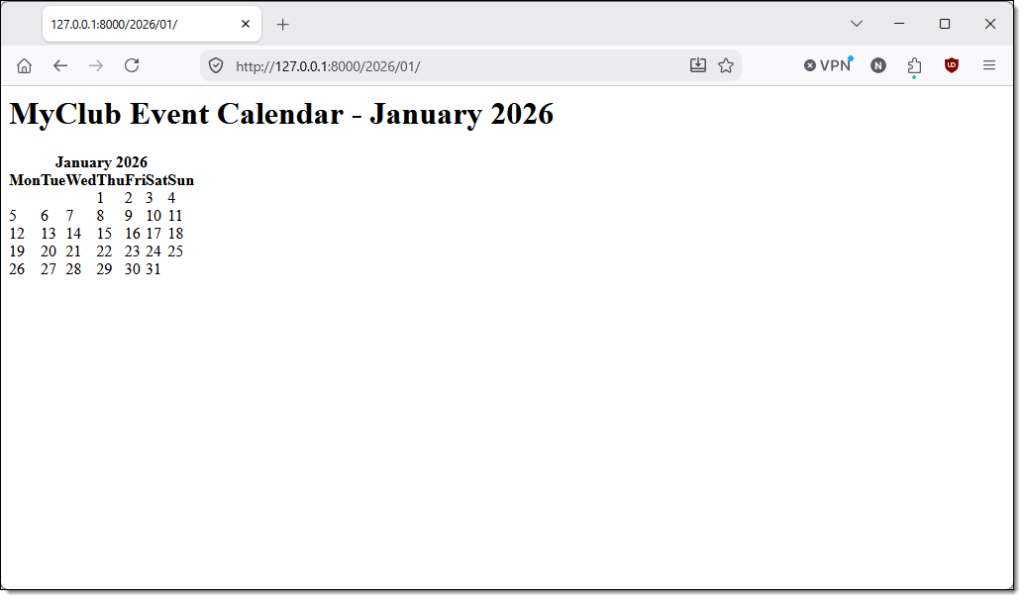
Figure 5-4: The completed dynamic view.
Try a few different years and dates to see how your dynamic view is working. Well done!
OK, so our event calendar is not very pretty, but you will learn how easy it is to style Django websites in the next chapter. In the meantime, there is still one thing to do.
A Note About the Site Root
Django does nothing special with the site root (/); it’s just another URL. In fact, if you go to your browser and try to navigate to http://127.0.0.1:8000/ now, Django will throw an HTTP 404 (Not found) error.
This is because when we updated our events app’s urls.py file, we removed the mapping to the root directory (''). Let’s fix that by adding the root mapping back to urls.py:
# \myclub_root\events\urls.py

1  from django.urls import path, re_path
2  from . import views
3
4  urlpatterns = [
5      path('', views.index, name='index'),
6      re_path(r'^(?P<year>[0-9]{4})/(?P<month>0?[1-9]|1[0-2])/$', views.index, name='index'),
7  ]
Code language: PHP (php)
This is simple enough. I’ve added the same URL configuration for the root URL we used back at the beginning of this chapter. But, we’re not finished: if you navigate to the root now, your browser is going to look like Figure 5-5.
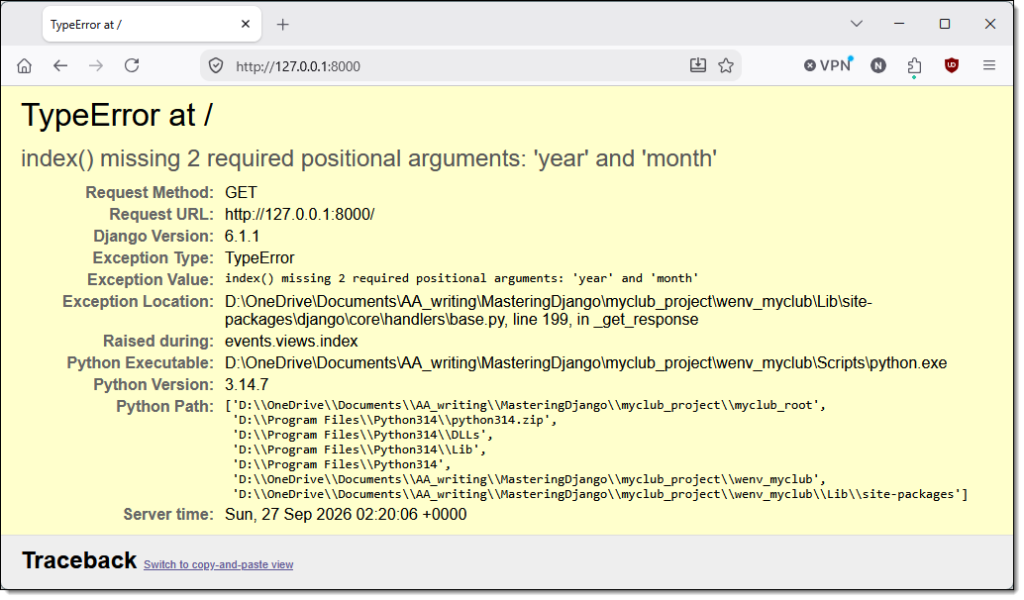
Figure 5-5: The index view requires the year and month arguments.
This error occurs because the index view requires the year and month arguments to render the calendar. As there are no arguments to capture from the root URL, the call fails.
We solve this problem by using default arguments. Make the following small change to the index function definition:
# \myclub_root\events\views.py

# ...
def index(request, year=date.today().year, month=date.today().month):
    # ...
Code language: PHP (php)
In this change, we are setting the default values for year and month to the current year and month. This way, if you don’t pass the year and month to the index function, Django will default to showing the current month. If you want to try this out, navigate to http://127.0.0.1:8000/ and your browser will display the current month in the calendar.
Chapter Summary
In this chapter, we took a detailed look at the basics of Django’s views, without getting into any detail on how views interact with models and templates. To help you grasp how views work at a fundamental level, I showed you how they work using simple HTML responses.
In the next chapter, we’ll cover the fundamentals of Django’s templates.